Good nail preparation is the key to a successful manicure. We reveal our tips for healthy nails and a stunning manicure!
Green polish or Green Flash gel polish... we understand you feel torn. But one thing's for sure, whichever you choose, proper preparation is key.
So, we've come up with a must-do nail care routine that you'll also find relaxing and enjoyable.
"You have to suffer to be beautiful" is old school. Manucurist wants to boost your mood and put a smile on your face while you pamper yourself (and your nails). Follow the guide!

Before you start your preparation
We can't say it often enough: you have to take care of your nails. Omitting this step is like trying to cycle with a flat tyre—very frustrating!
Good nail prep ensures you'll have glossy color for several days. Strong, smooth, hydrated nails help your color look its best and last longer.
Let's start with the two golden rules:
🌿 A healthy lifestyle
It's vital to provide your nails with enough vitamins, amino acids and minerals for good health. Avoid nutrient deficiencies at all costs!
But there's no need to panic. If you feel like your nails have become more fragile over time, food supplements for nails are a great way to restore them to health. This concentrate of vitamins and active ingredients strengthens nails and promotes nail growth naturally.
💦 Regularly moisturise your nails and their contours
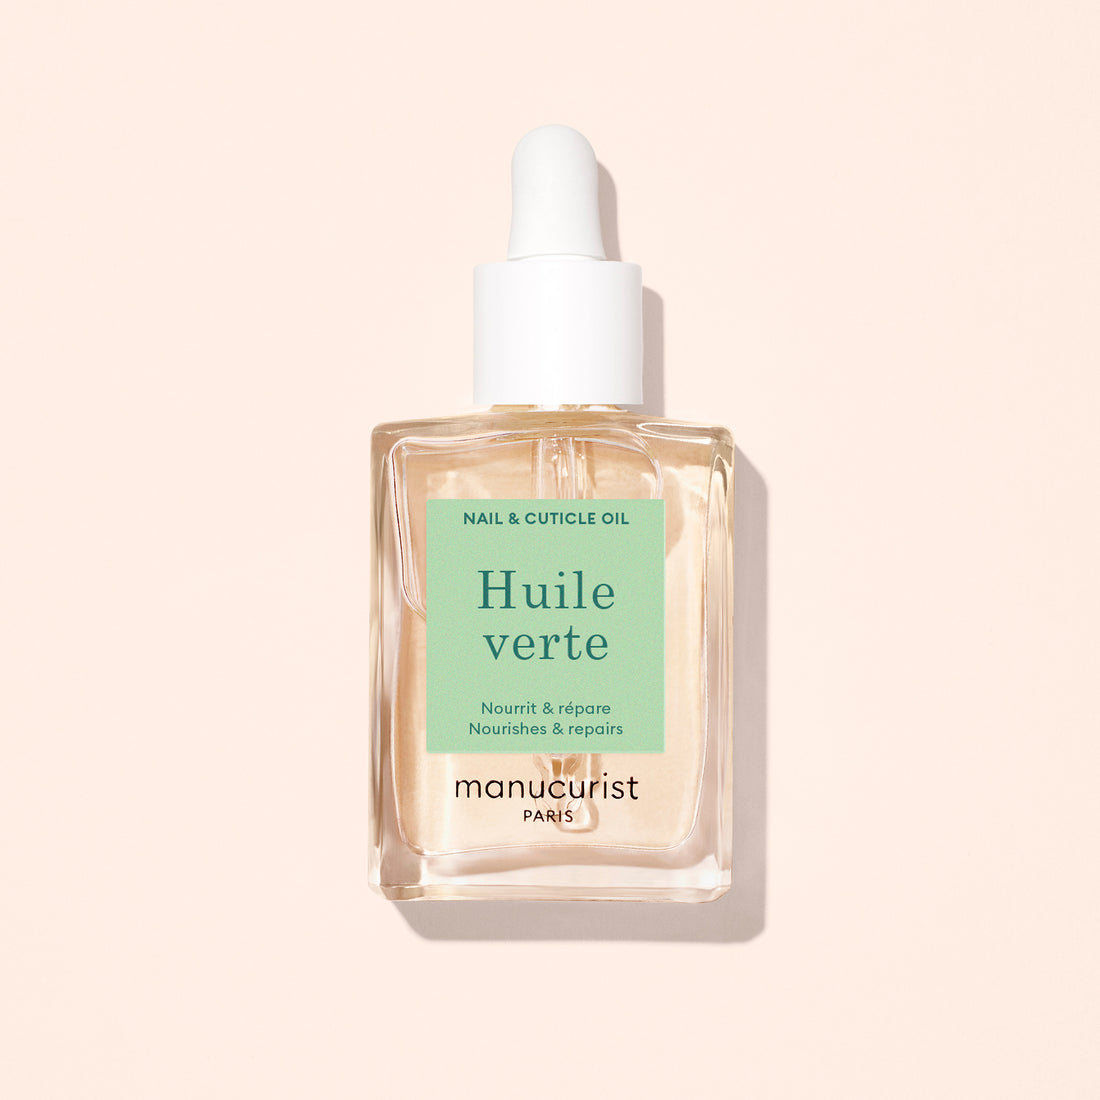
Moisturising your nails is just as important as moisturising your face. It should be a key part of your nail care routine. Our Green Oil is designed to deeply moisturise your nails and cuticles.


Now we've cleared that up, let's move on to the Preparation step.
An easy routine with the right ingredients—just like a good cocktail recipe!
To prep your nails like a pro, you'll need:
- An emery board for natural nails
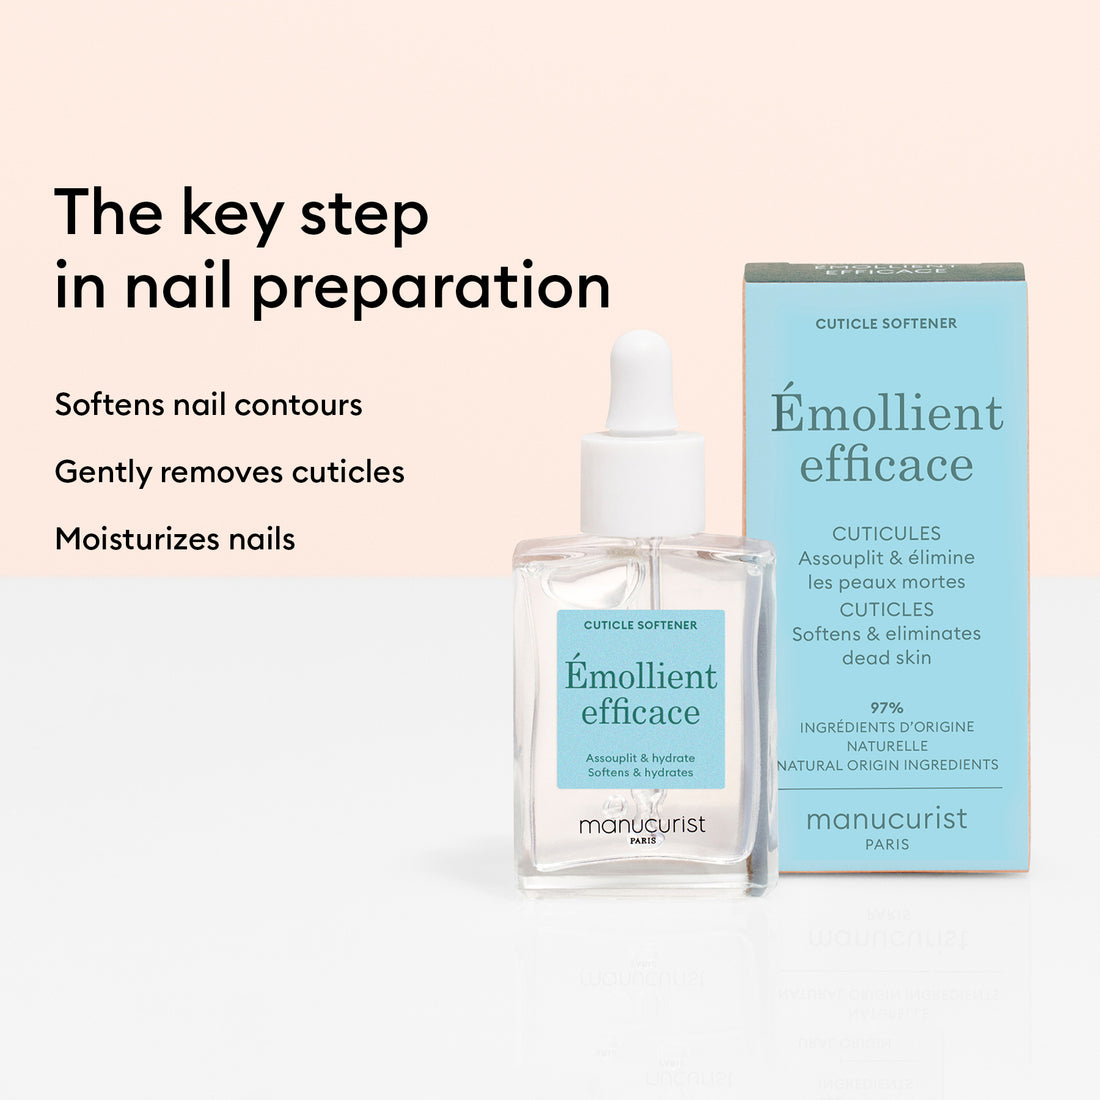
- Cuticle remover
- A steel cuticle pusher
- A nail priming emery board
Step 1
File your nails into your desired shape using an emery board. Make them shorter if you need to using the softer side of the emery board.

Step 2
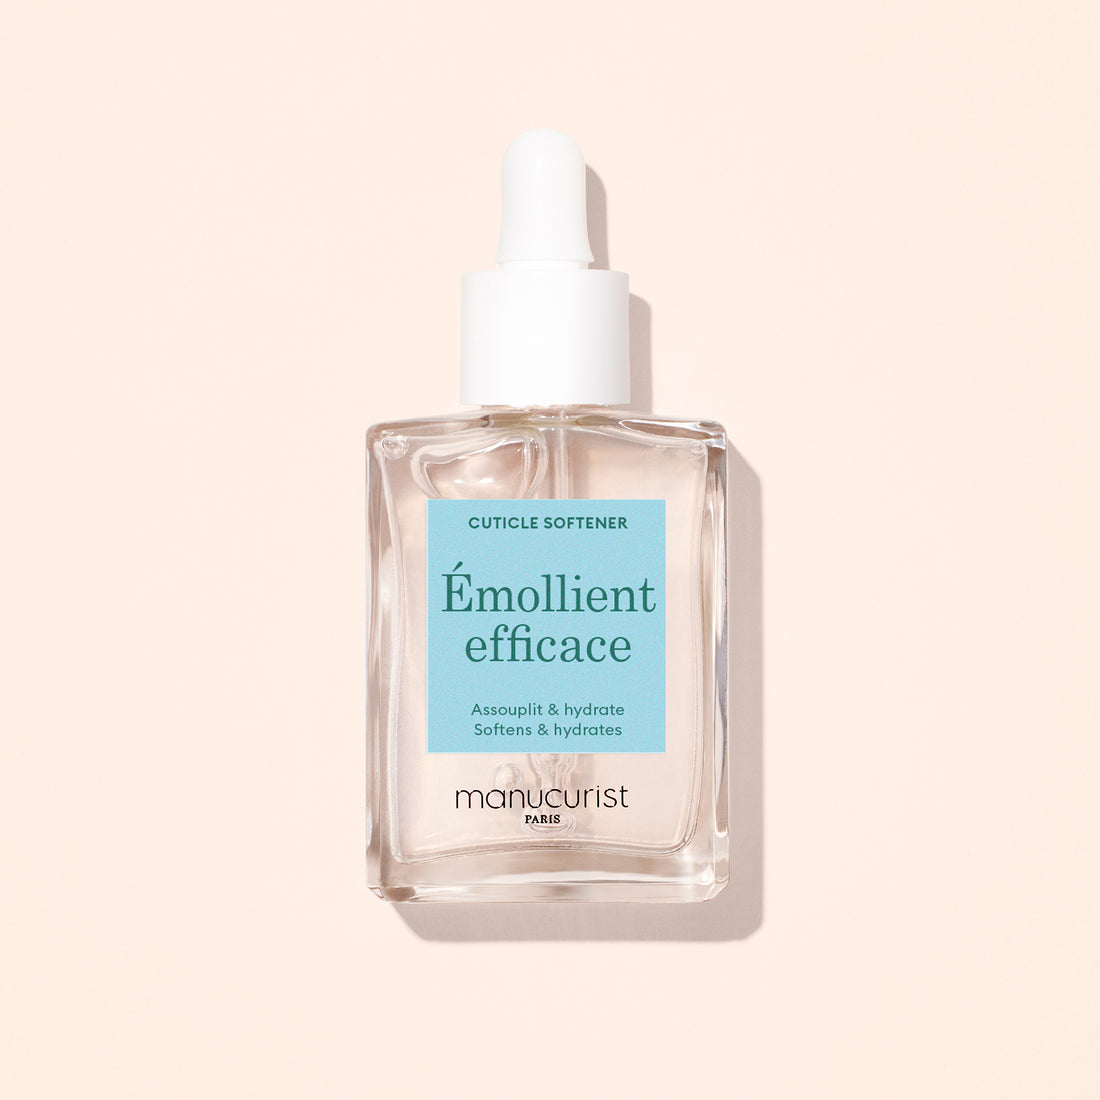
Use cuticle remover to soften your cuticles. Apply a drop of Cuticle Remover to the contour of each nail. Leave to work for 2 minutes.

Step 3
Once you've applied the cuticle remover, use the rounded end of a steel cuticle pusher to push back your cuticles. Push them in the opposite direction to nail growth and don't move the pusher backwards and forwards to avoid scratching your nails. The square end can be used to get into the sides. Don't push too hard—it shouldn't hurt.

Step 4
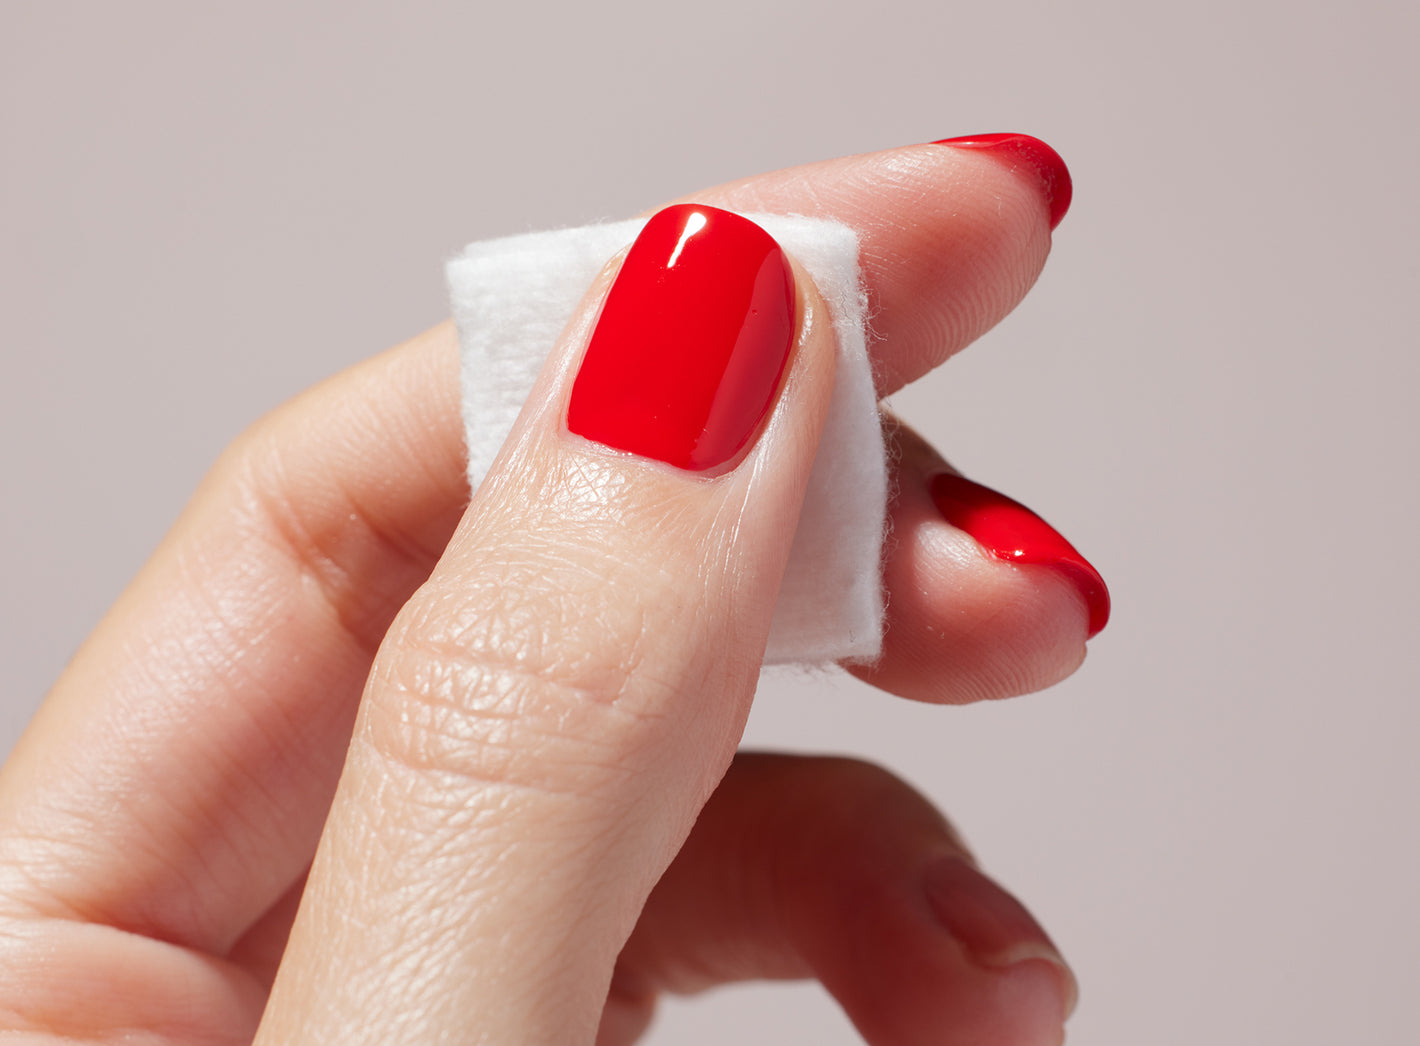
Use a cotton pad to remove any surplus. And wash your hands well afterwards.

Step 5
Use a nail priming emery board to gently smooth the surface of the nail and remove any final flaws. Always use the logo side in the direction of nail growth. This step is particularly important for ridged nails.

The end result is revitalised nails, ready for you to apply a new color!
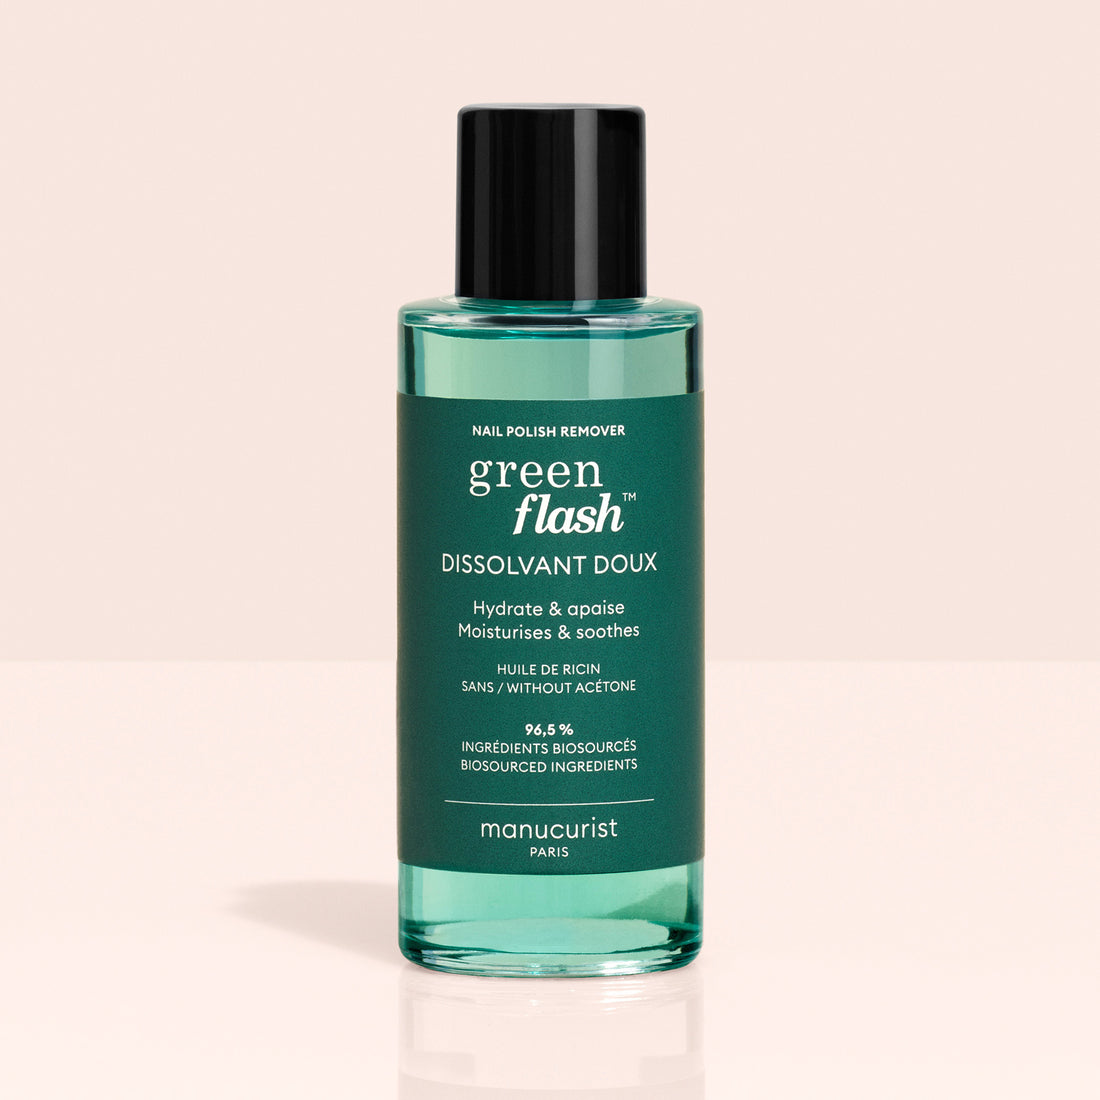
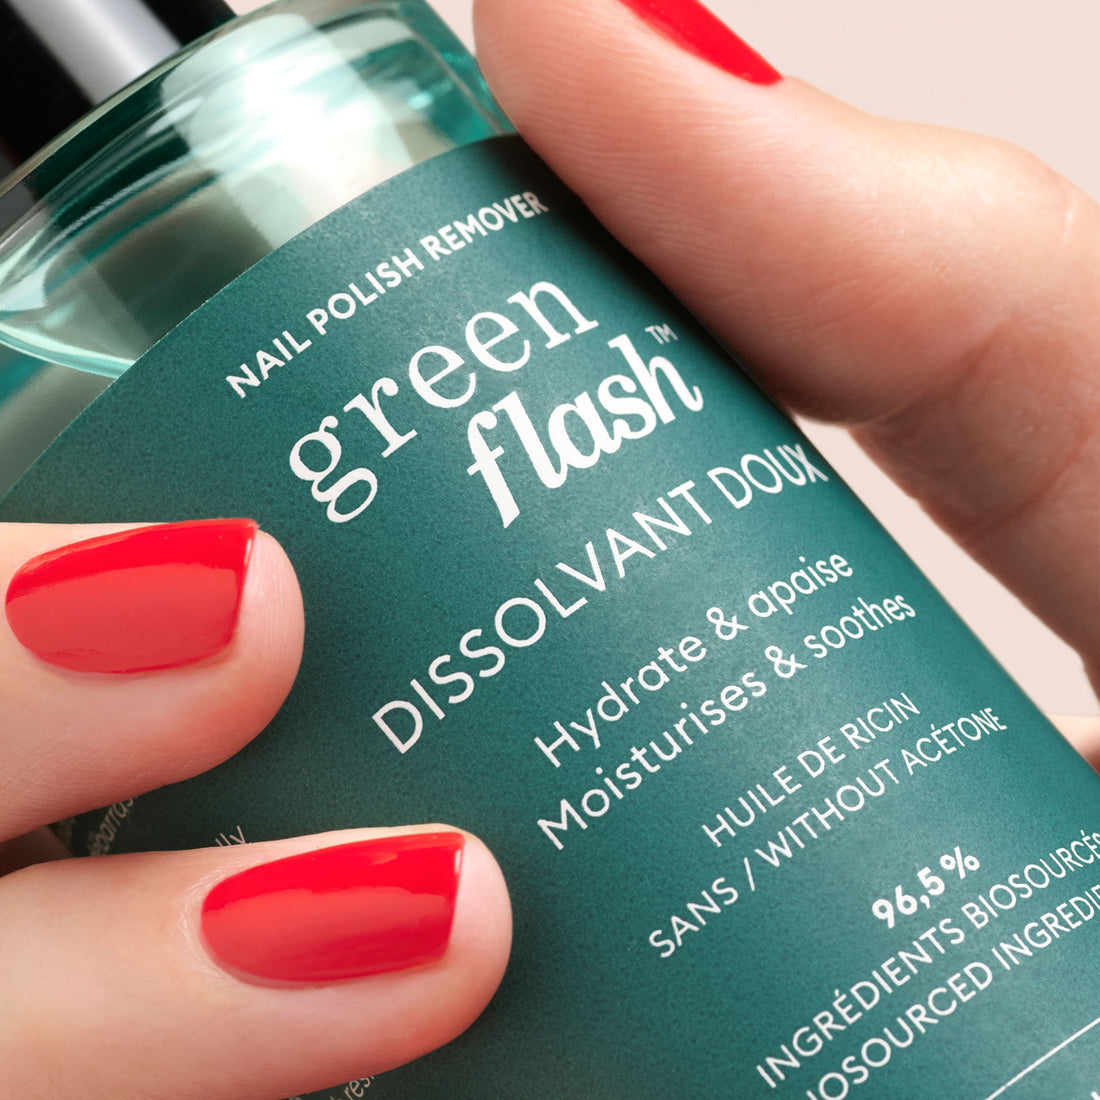
Quick tip: use a natural, acetone-free nail polish remover to remove any oil from your nails before applying your polish.
To see a video of this step and other tips to complete your beauty nail routine, click here.